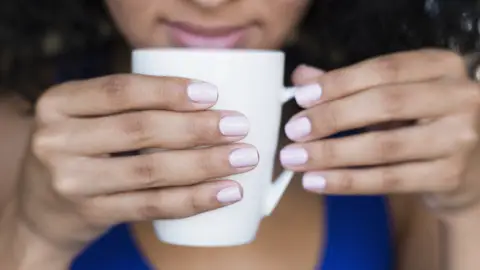
How To Care For Your Quarantine Manicure Without Damaging Your Nails— Kandi Yamz Gives Us The Step-By-Step

Freaking out about your quarantine manicure? You’re not the only one! People all over the country have been flooding social media with cries for help after their favorite nail salons were deemed non-essential amid the coronavirus pandemic.
Lucky for you, BET has your back— well, your nails! On Hot Girl Style: Home Edition, we spoke to nail guru Kandi Yamz to give us some much-needed insight on how to safely remove nail enhancements, along with tips to properly care for nails at home.
As a bonus, the owner of Kandi Lab even revealed her secrets to applying press-on nails right in your living room!
“I know a lot of you are wondering, ‘How am I supposed to play fly from the comfort of my home?’ We love our nails. That’s why I’m going to show you a Hot Girl Style: Home Edition nail enhancement removal,” Kandi shared with BET exclusively in the DIY video. “So, right now I have a gel mani, and I am going to show you how to properly remove them without damaging any of your nails. The best part is, you can find these materials at your local drugstore and you probably have some [items] laying around the house.”
It sounds like a win to us! Keep scrolling to watch the step-by-step DIY for yourself:
Need it in written form? No worries, here you go!
You Will Need:
Nail Clippers
Nail File
Nail Buffer
Cotton
Pure Acetone (It provides quicker results than nail polish remover.)
Alcohol
Foil
Nail Wipes
Nail Brush
Cuticle Oil
Nail Cutter/Pusher
Step-By-Step For Removal
Step 1- Cut your nails and file off all the shine on your gel.
Step 2- Saturate your cotton in 100% acetone.
Step 3- Wrap your fingers in foil.
Step 4- Let your nails soak for 15-20 mins.
Step 5- Once the gel starts to flake off, begin gently scraping the gel with your cuticle pusher. Caution: Do not force the gel to come off. If the gel is stuck, repeat steps 2 and 3 until completely finished.
Step 6- Once the gel is completely removed, file the free edge of your nails and push back your cuticles.
Step 7- Buff your nails in the same direction (not back and forth).
Step 8- Dust off your nails if necessary with a manicure brush. Use a lint-free nail wipe with rubbing alcohol to clean off the nail plate.
Step 9- Wash your hands and moisturize those cuticles!
For those looking for a step-by-step on how to apply press-on nails, watch the video for everything you need to know!


